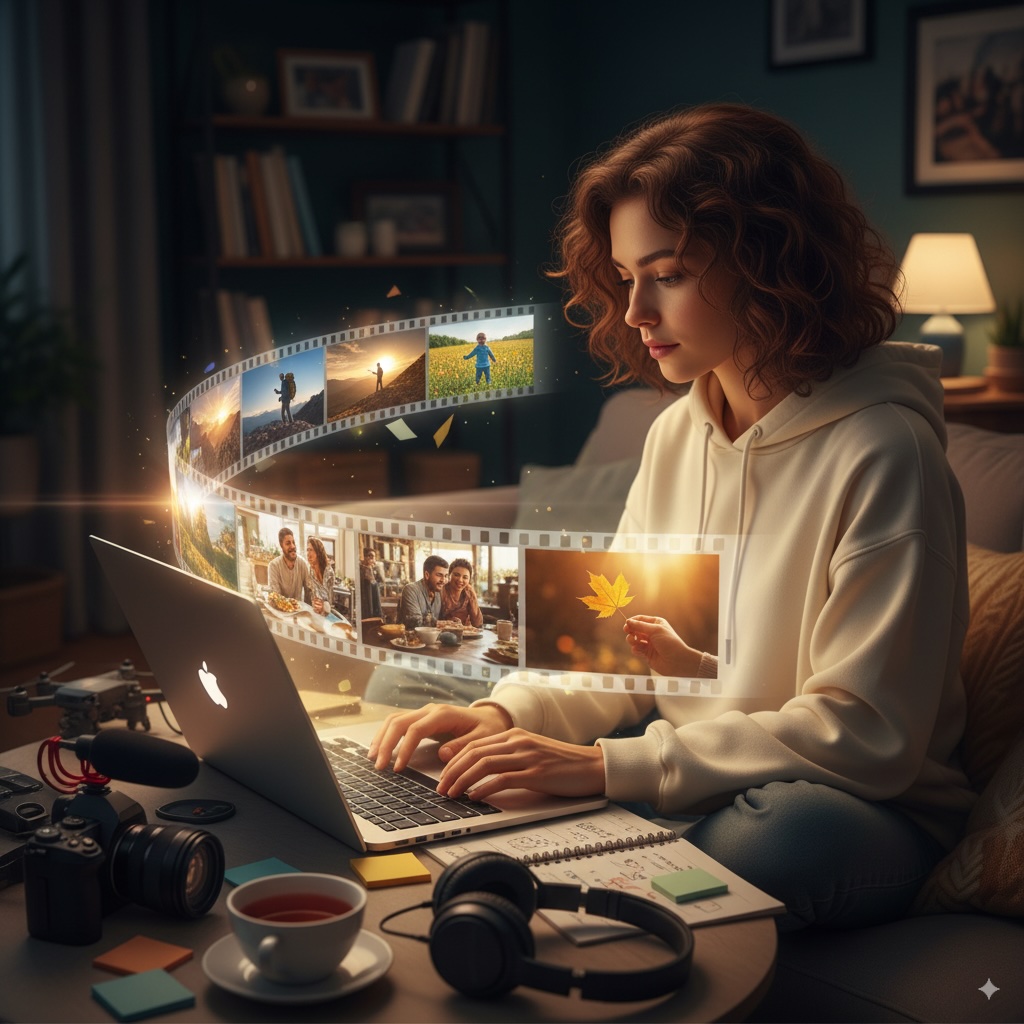
You do not need a large album to practice visual storytelling. Five photographs can establish a place, show an action, reveal a detail, and deliver a result.
This lesson uses a fictional coffee-making sequence to show the decisions. Use your own photographs or media you have permission to edit. The downloadable storyboard is the plan for this exercise; it is not a record of an AI-generated film or a tested customer project.
1. Choose five pictures with different jobs
| Timeline | Picture | Purpose |
|---|---|---|
| 0–2 seconds | The shop or work surface | Establish the place. |
| 2–6 seconds | Ingredients and equipment | Show what the action starts with. |
| 6–10 seconds | Hands preparing the drink | Introduce the action. |
| 10–14 seconds | A close detail of the pour | Direct attention to the process. |
| 14–20 seconds | The finished cup | Resolve the sequence and leave time for a short closing title. |
These durations are an editorial choice for a 20-second exercise, not a platform requirement. If two images tell the same part of the story, replace one. A different angle is useful when it adds information, rather than simply filling another slot.
2. Pick the frame before arranging the sequence
Use a landscape frame for a landscape deliverable, or a portrait frame when the intended placement is vertical. Preview the crop of every photograph: a cup that fits a landscape image may be cut off in portrait.
For this exercise, choose 1920 × 1080 at 30 fps if your device supports that export. At 30 fps, the five durations above are 60, 120, 120, 120, and 180 frames. They add up to 600 frames, or 20 seconds. These are working settings, not a claim that every destination requires them.
3. Assemble it in Video Editor
Open 5AM Video Editor and add your photographs to a project. Use media from your library; adding local media may require syncing it before the project can be reopened on another device. Keep the local originals.
Arrange the photos in the storyboard order on the timeline. Trim each item's length to match the plan and place the next item directly after it. Start with straight cuts so you can judge the sequence without an effect hiding a weak connection.
Add a short title over the final image, such as “Autumn menu.” Keep it inside the visible frame and away from the cup. Play the entire timeline: is the title on screen long enough to read, and does the last picture actually answer the setup?
If a transition helps connect two pictures, try a short crossfade and check the resulting timing. Don't add a transition merely because the control exists.
4. Export a file and inspect it
Export an MP4, then play the downloaded file outside the editor. Check the first and last frames, every cut, the title's readability, and whether the crop hides important details. If you add music, use a track you have permission to publish and listen to the exported audio, too.
If the file differs from the preview, check browser support and the editor's warnings. Try a short test export or a smaller resolution before rendering a longer project. How Video Editor processes and saves projects.
Before publishing, check the destination's current requirements for the particular placement. A portrait short and a landscape upload on the same service can have different expectations. Keep the storyboard with the project so a later revision has a clear starting point.